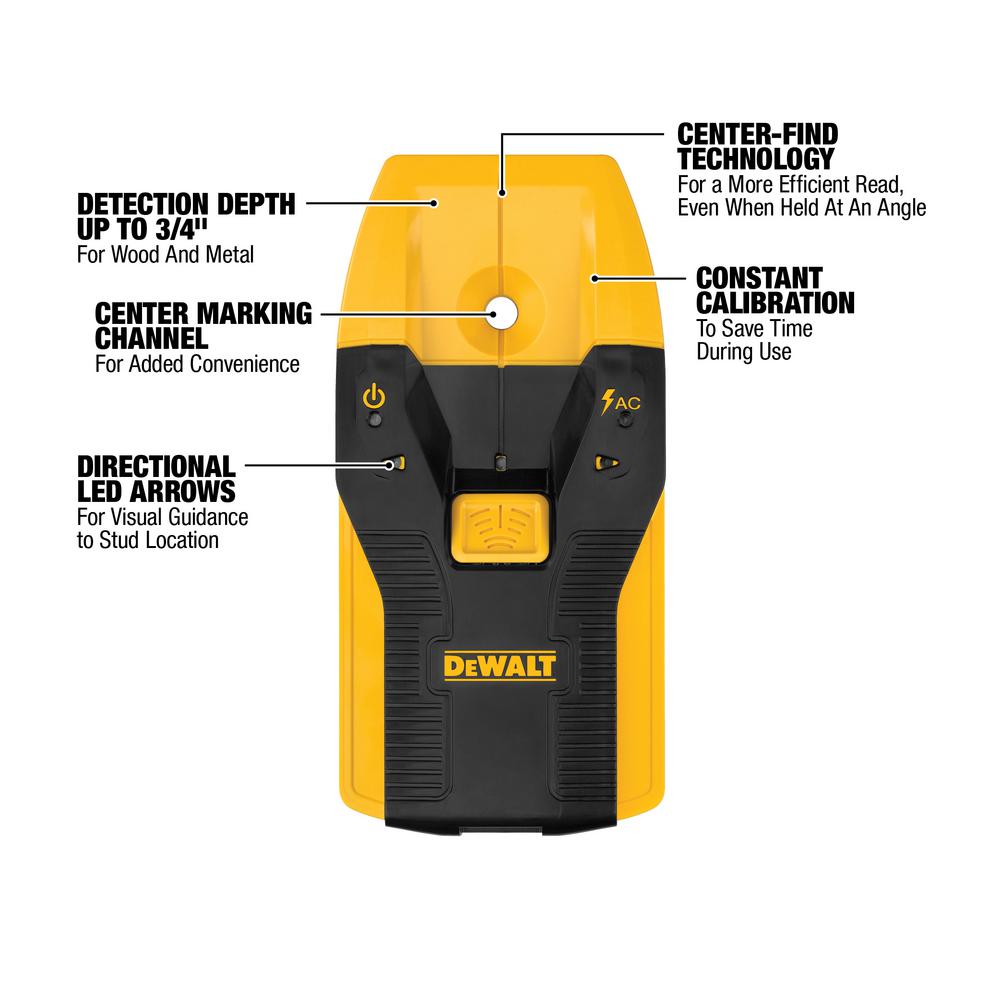
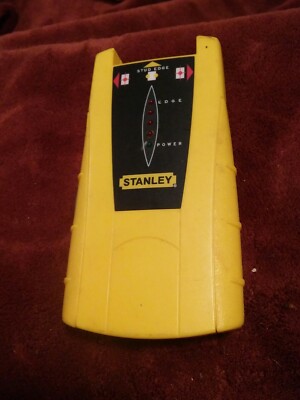
Place the stud finder against the wall where you are looking for a stud. The stanley stud sensor 200 detects studs up to ¾ inch below surface materials and has onepass center find technology this locates the true center of the stud.

Stanley Stud Sensors Product Safety Australia
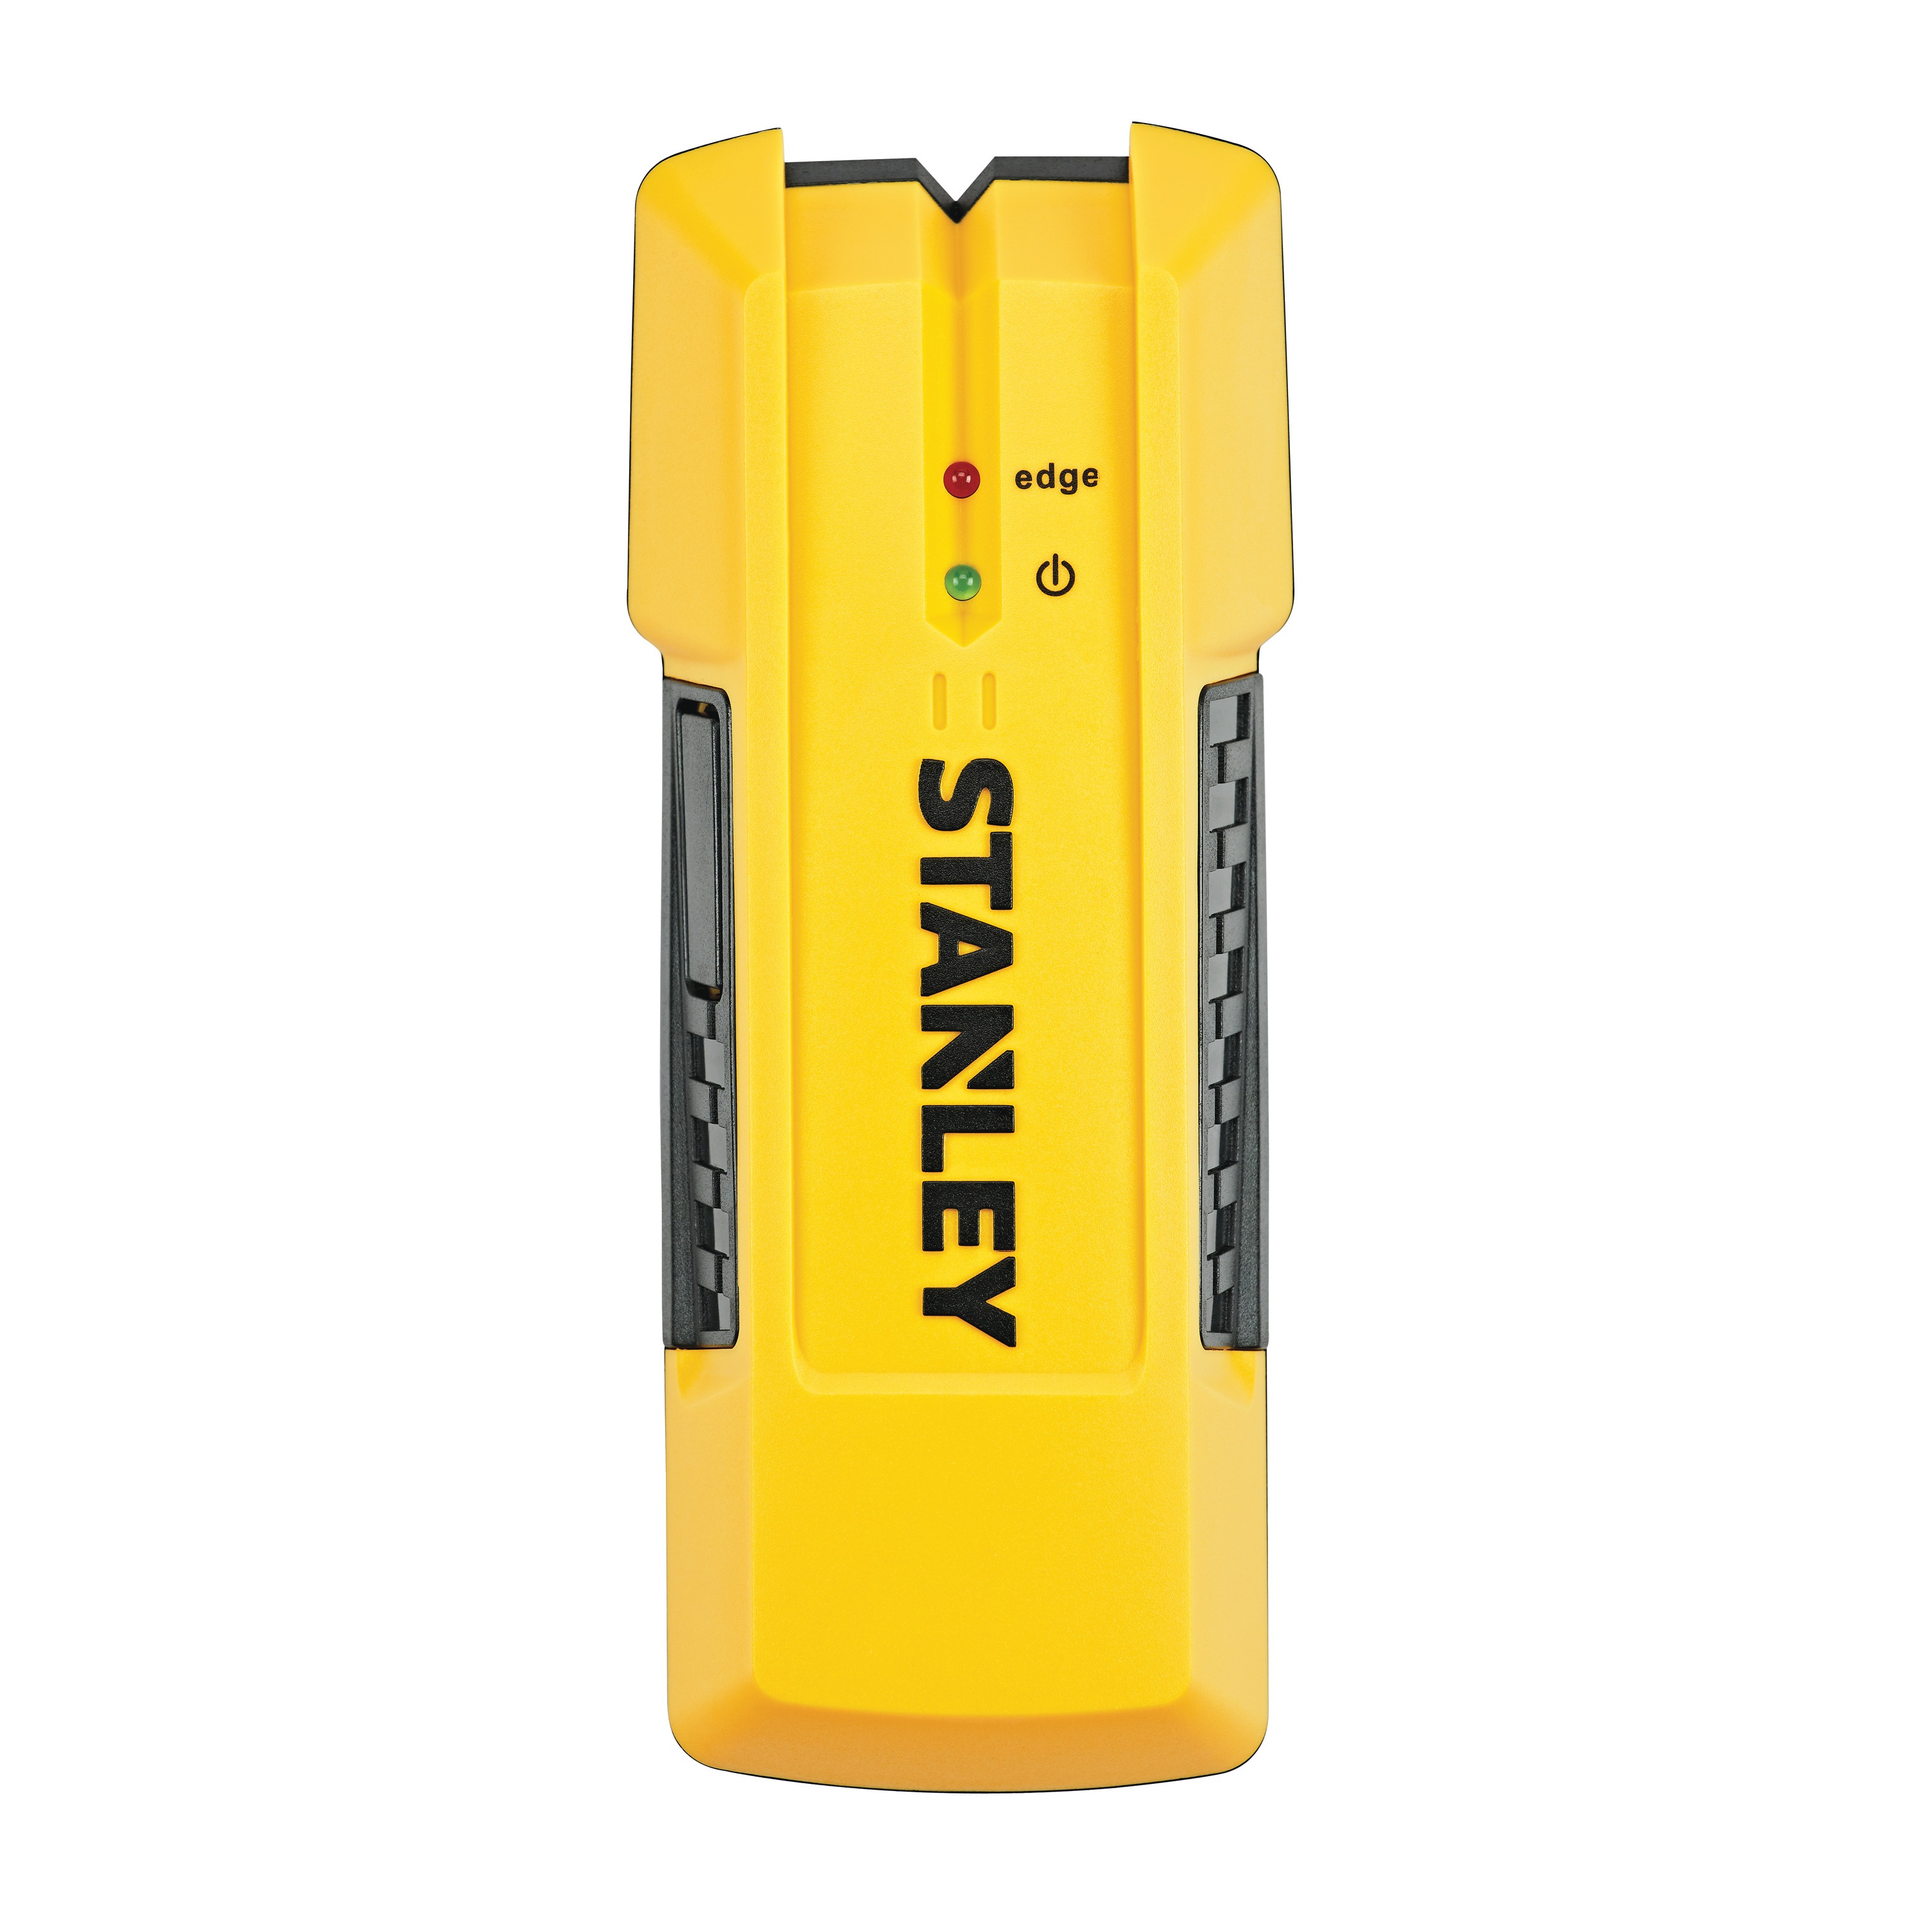
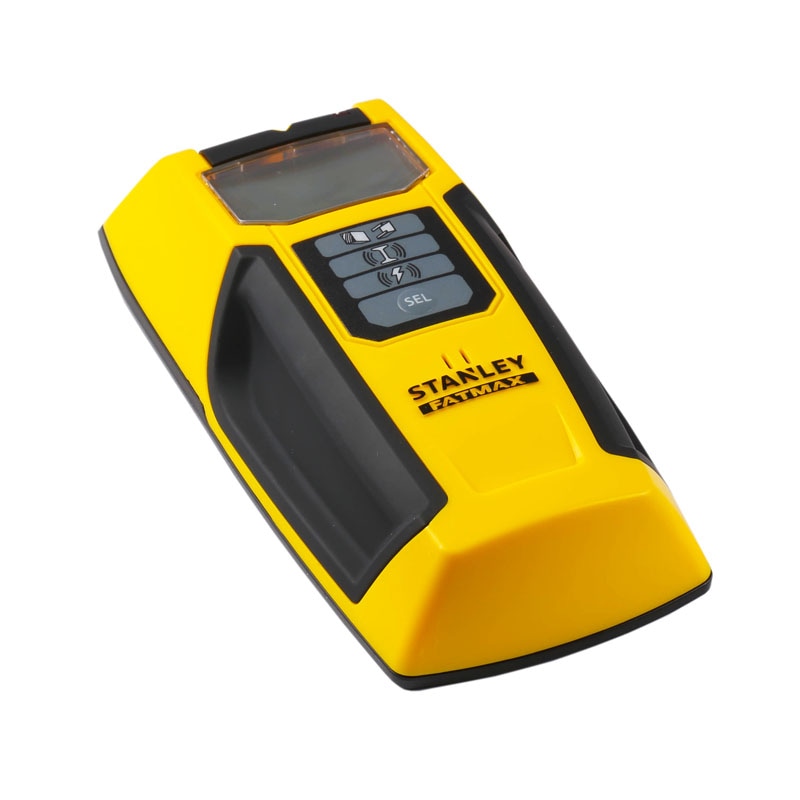
Stanley stud finder how to use. When you turn it on a green. I show how to use the most common type of stud finder. When the stud finder alerts you to a studvia a beep or flashing light depending on the finder in questionretrace the last few inches with the unit to double check where the alert is occurring. Hold the tool at the height where you. Stanley layout tools product manager spencer maheu reviews how to calibrate and use your new stanley stud sensor. Lcd screen is backlit for visibility when detecting studs versatile 2 laser set can be used separately or together to create horizontal and vertical laser cross lines projects laser lines up to 20 feet onto a work surface unique adhesive dots used to mount the laser module to most walls for hands free operation 8 included.
Rons amazon store and workbench plans. Most stud finders are. For information on how to calibrate and use your stanley stud sensor please watch this video httpyoutubeqinszvd9wpe the stanley stud sensor 100 feature. For digital copies of the stud sensor man. How to use a stanley stud finder step 1. The stud finder is sensing the density of the surface below it and letting you know when you run into a stud or joist.
Your stanley stud finder is powered by a 9 volt battery. Turn on the stud finder. Ron demonstrates how simple it is to use a stud finder and yes they work. Slide the stud.
Gallery of Stanley Stud Finder How To Use